Introduction
Since the end of March 2026, if you have tried to create a new CDX tenant, I bet you had a hard time doing it, if you didn’t find it outright impossible
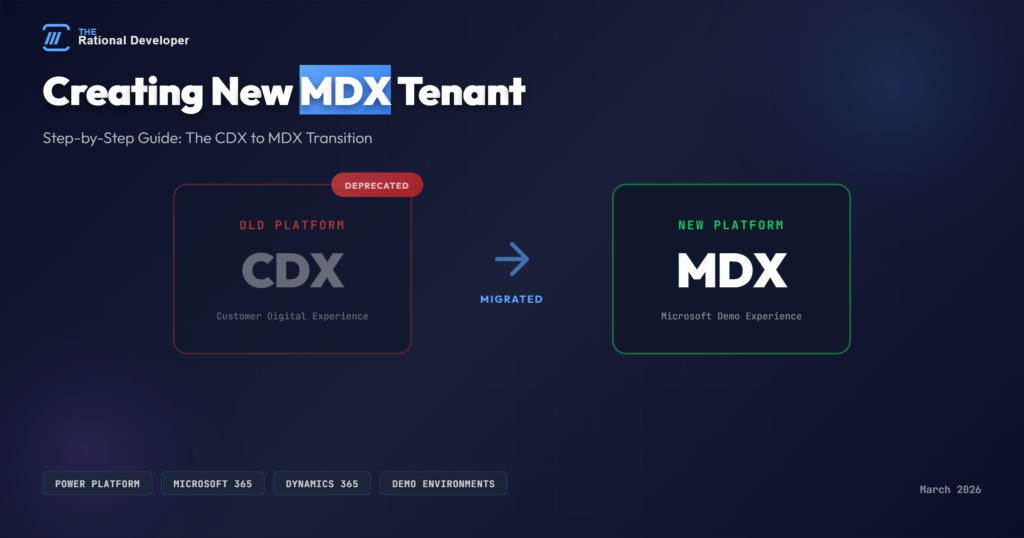
Microsoft has officially decommissioned demo tenant creation via the traditional CDX Dashboard. This means the familiar “Create Tenant” button is gone. The platform has now been rebranded as Microsoft Demo Experience (MDX), and the process to create a new tenant is not intuitive yet.
To save you some time and frustration, I’m sharing the step-by-step guide below on how to create a brand new tenant from the new MDX platform. The usual 90 day trail environment :
This guide aims to help users create a tenant
Target audience: Administrators and users who want a Power Platform environment to test new features or develop something.
Prerequisites: Valid Work or school Microsoft account
Create a Tenant in MDX ( old CDX)
- Sign in to CDX: Log in with your Work account at https://cdx.transform.microsoft.com/
https://cdx.transform.microsoft.com/experiences?type=live+experience
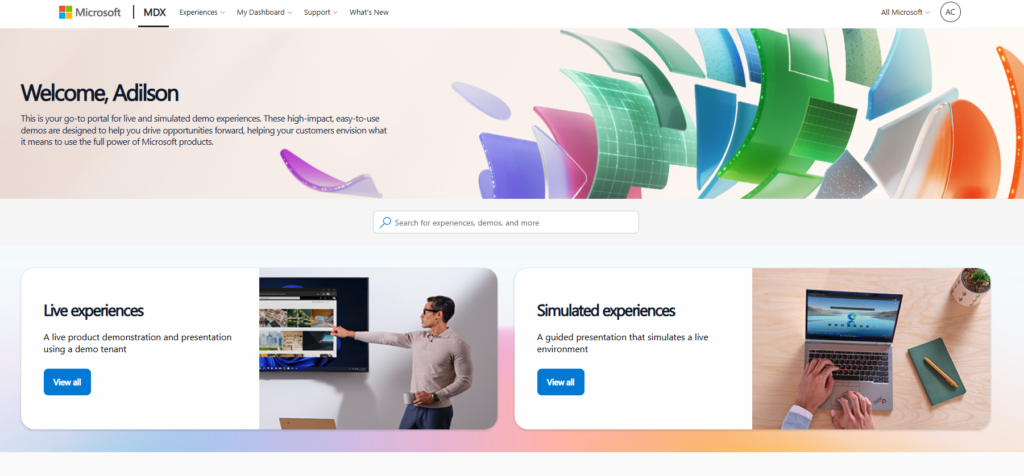
- Create a Live Experience Account: Search for ‘ Microsoft 365 Enterprise w/ Converged Comm 90 day ‘, then ‘Overview‘.
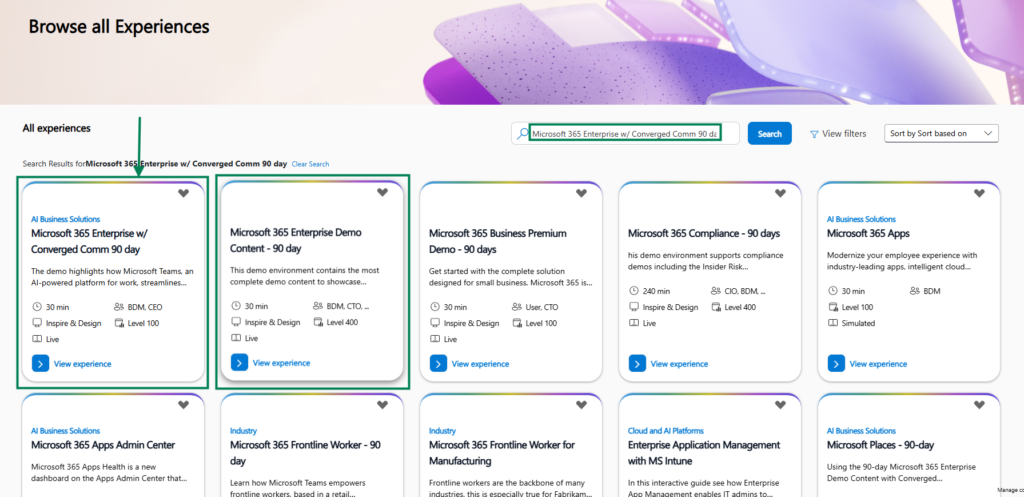
Select :
- Microsoft 365 Enterprise w/ Converged Comm 90 day : for tenants without pre-configured Dynamics 365 Apps.
- Dynamics 365 Customer Engagement – 90 day: for CE D365 Apps. Note that it is unavailable at this moment.
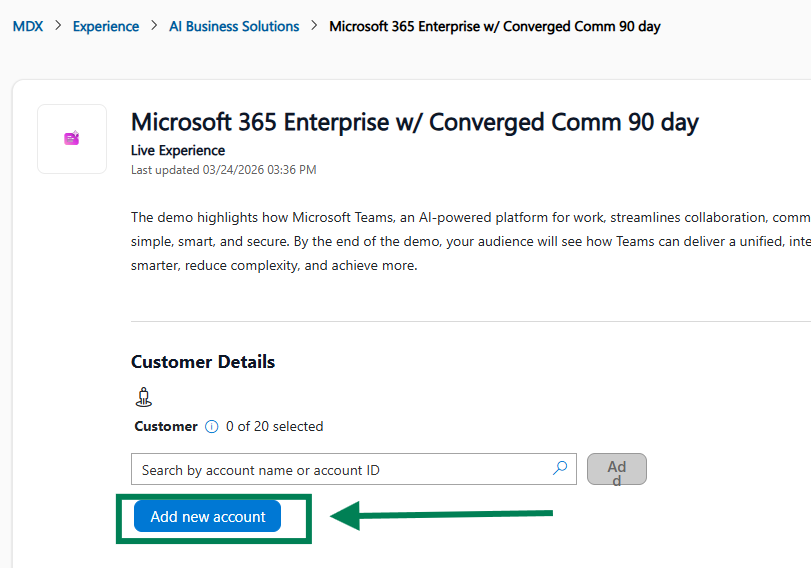
- Add an Account: Click ‘Add new account’. Select the appropriate content pack:
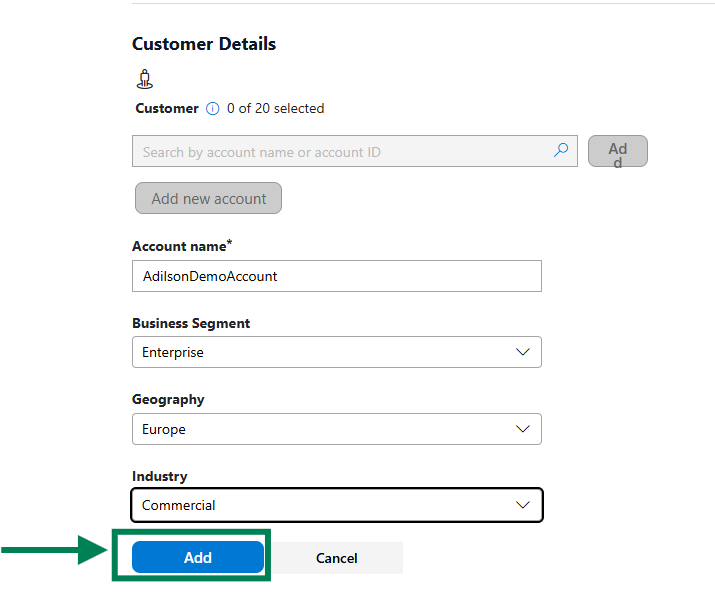
Fill in the information about your new account
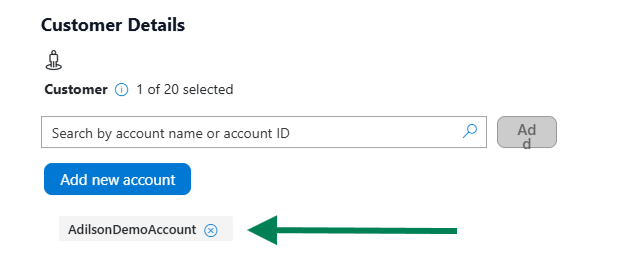
Your new account should be added to the list
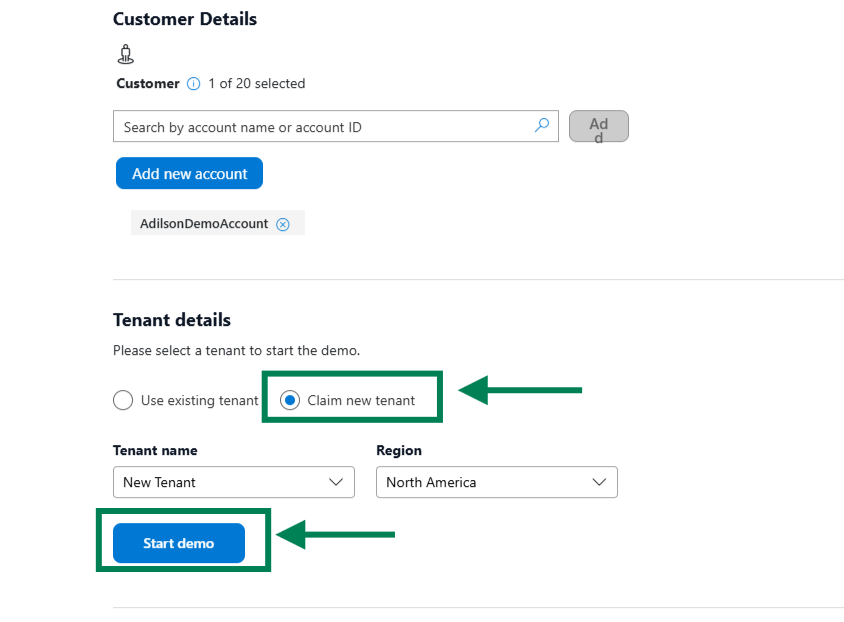
- Create a new Tenant: Click ‘Start a demo’ after checking the box ‘Claim new tenant’
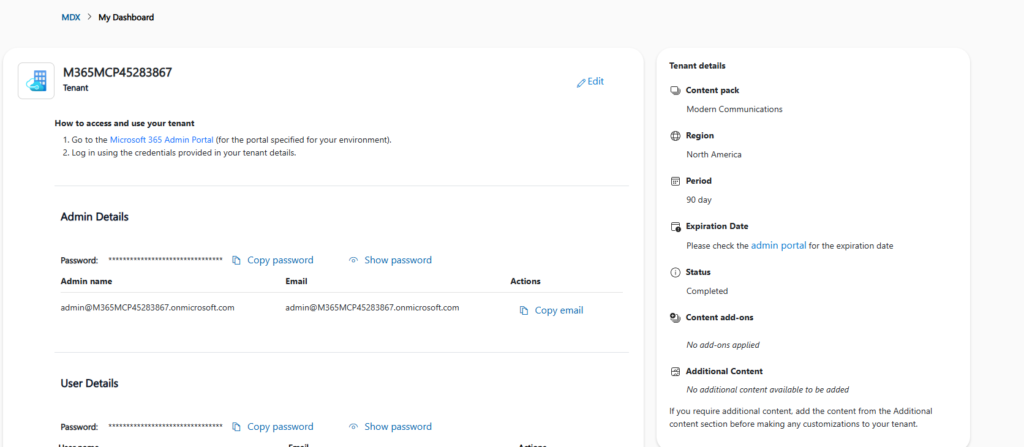
- Validation: Note down the admin and user credentials.
Important: Keep this information secure.